
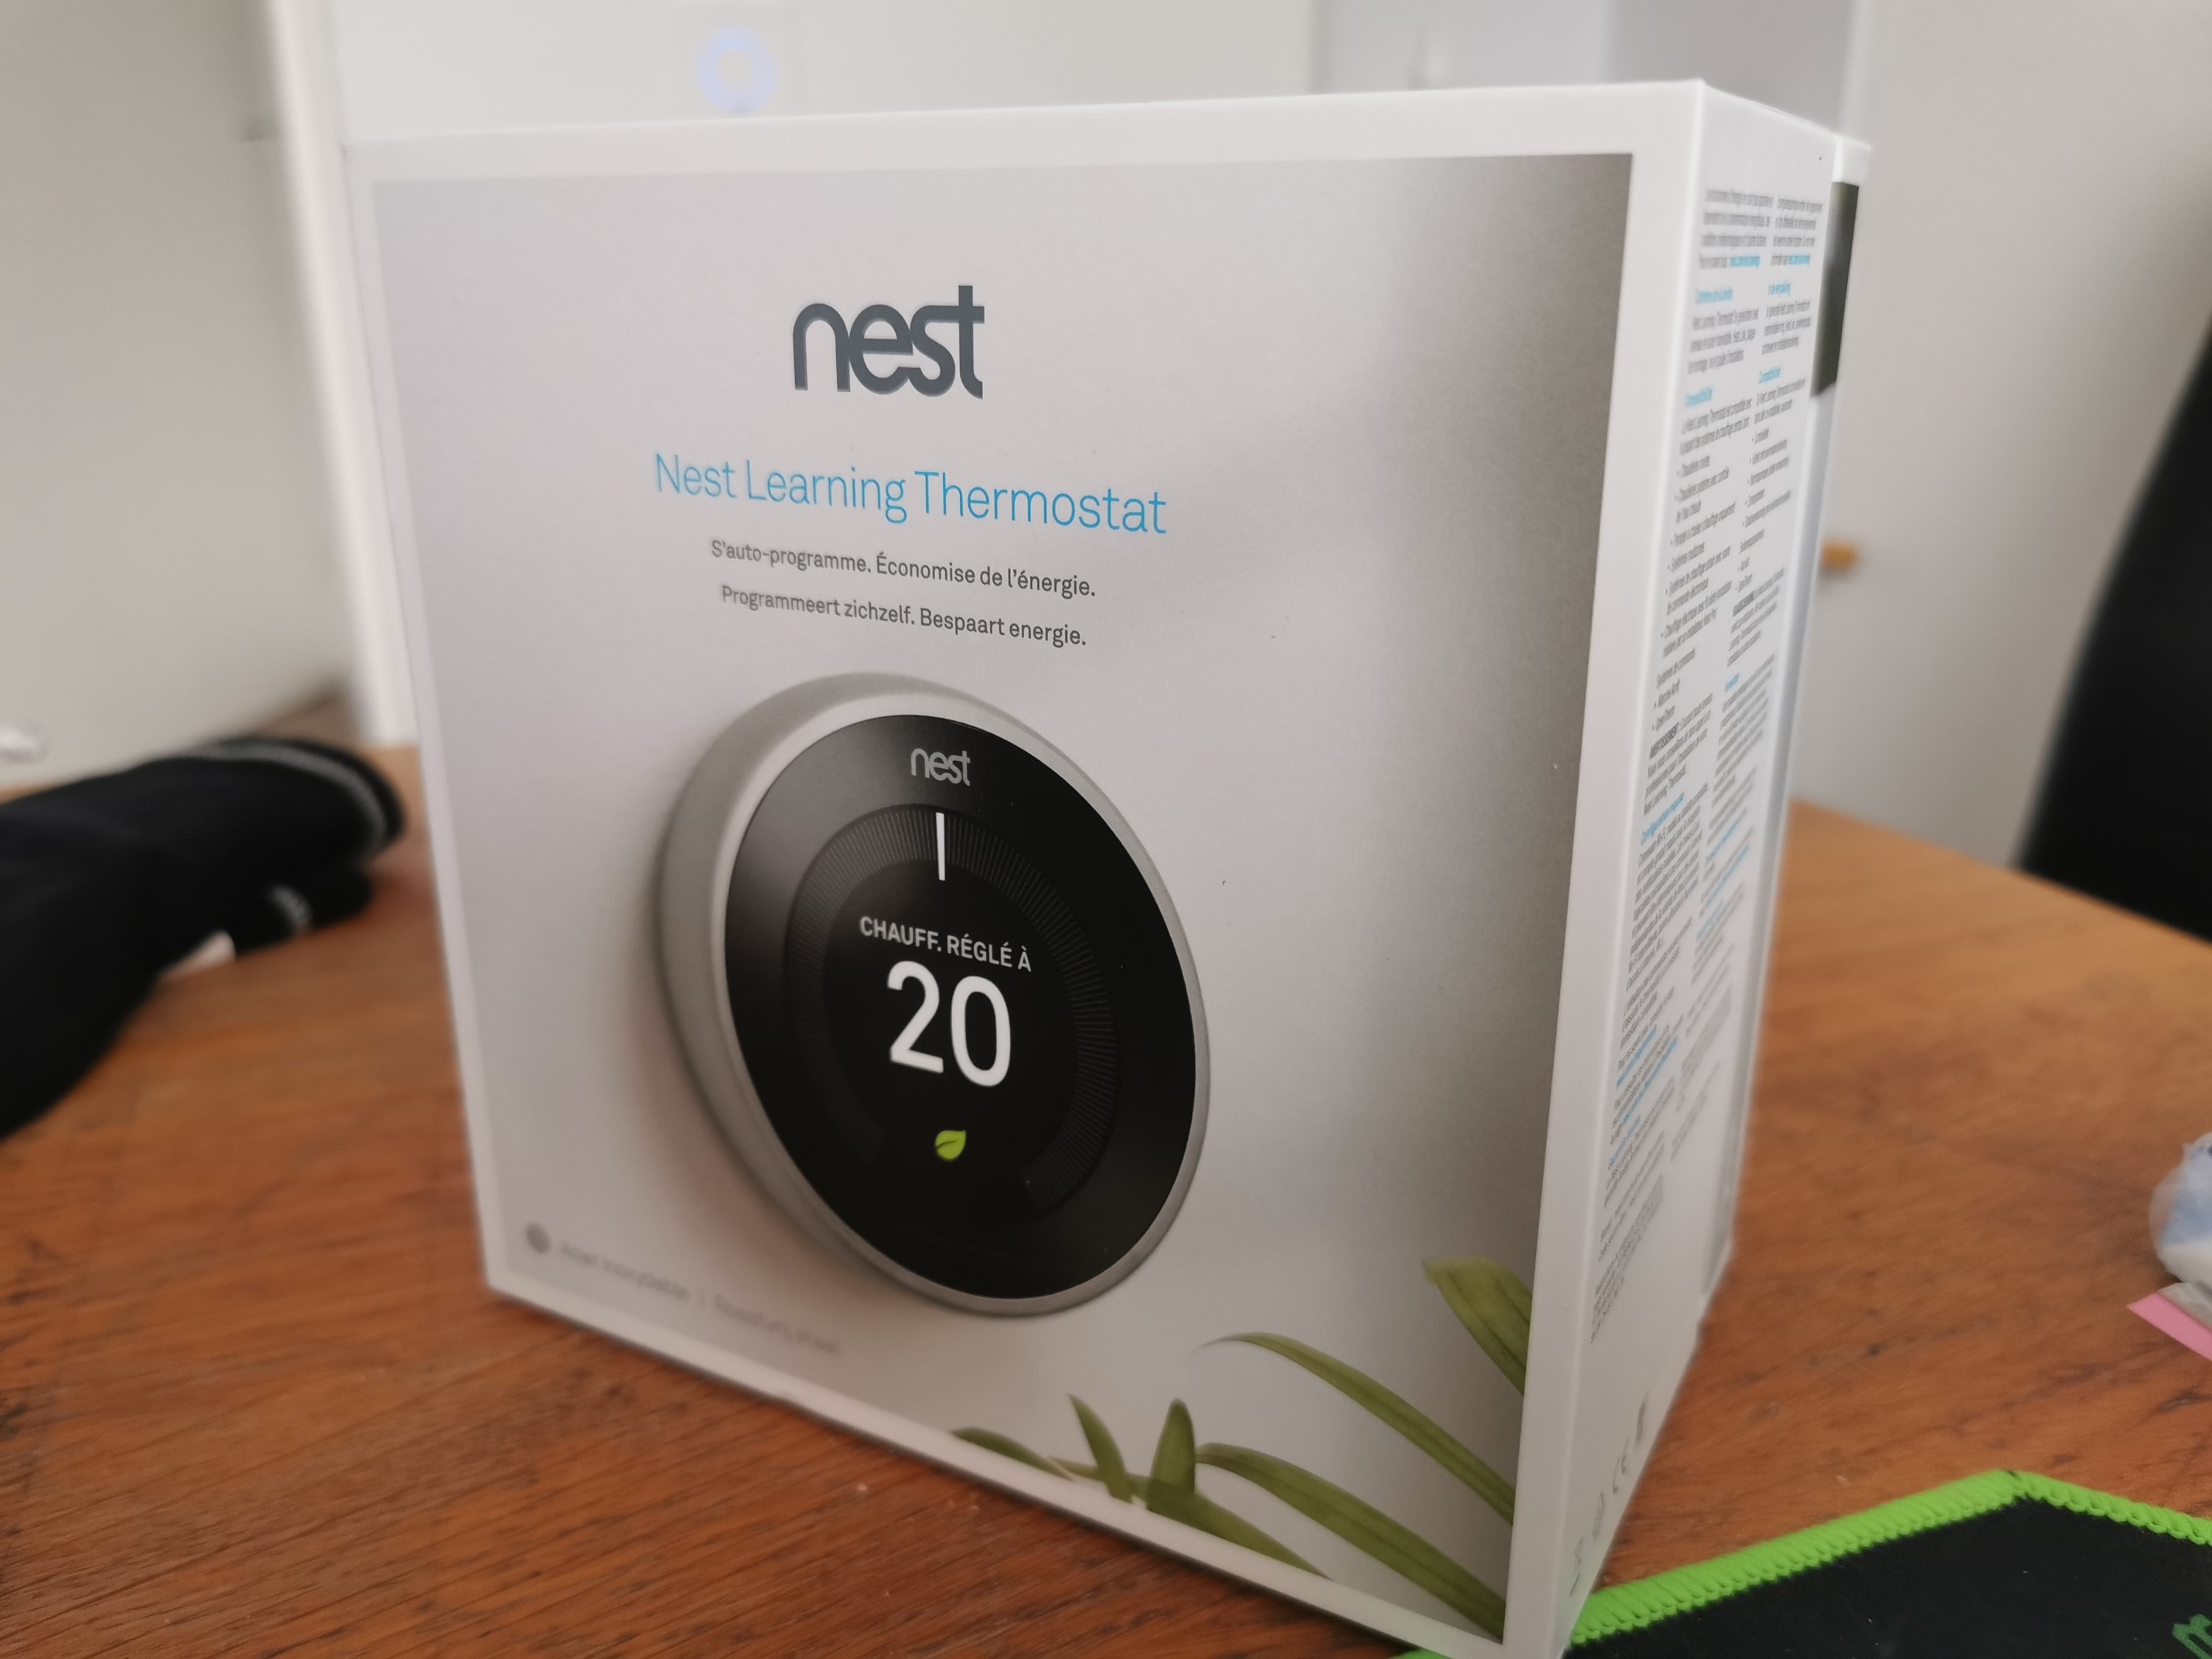
My old thermostat gave up the fight after 12 years of working, I haven’t dig deep into what was the real problem with it. For some reason, it forgot to turn the heater off, so after some days with 25+ C temperature in the house, with a water temperature of +90 C we decided to give a try to so promoted Nest Learning Thermostat, which is compatible with google home setup what I already have implemented.
The package arrived fairly fast, from a local supplier of electronic devices. It contained a thermostat and a heat link – named device which supposes to give command output to the heater.
We have a legacy gas heater mounted with zero guides, documentation or electrical drawings, which made the whole thing a bit “risky” to experimentation.
The heater we have is a Nefit Ecomline Hr ZCN08 from around 2004.
My guide to connecting the new system was simply figuring out the old one, which also made me some confusing minutes because of unclear writings on the back of the device.
The installation guide of the heat link was also a bit confusing mostly because of my ZERO experience with heating devices or thermostats. 🙂
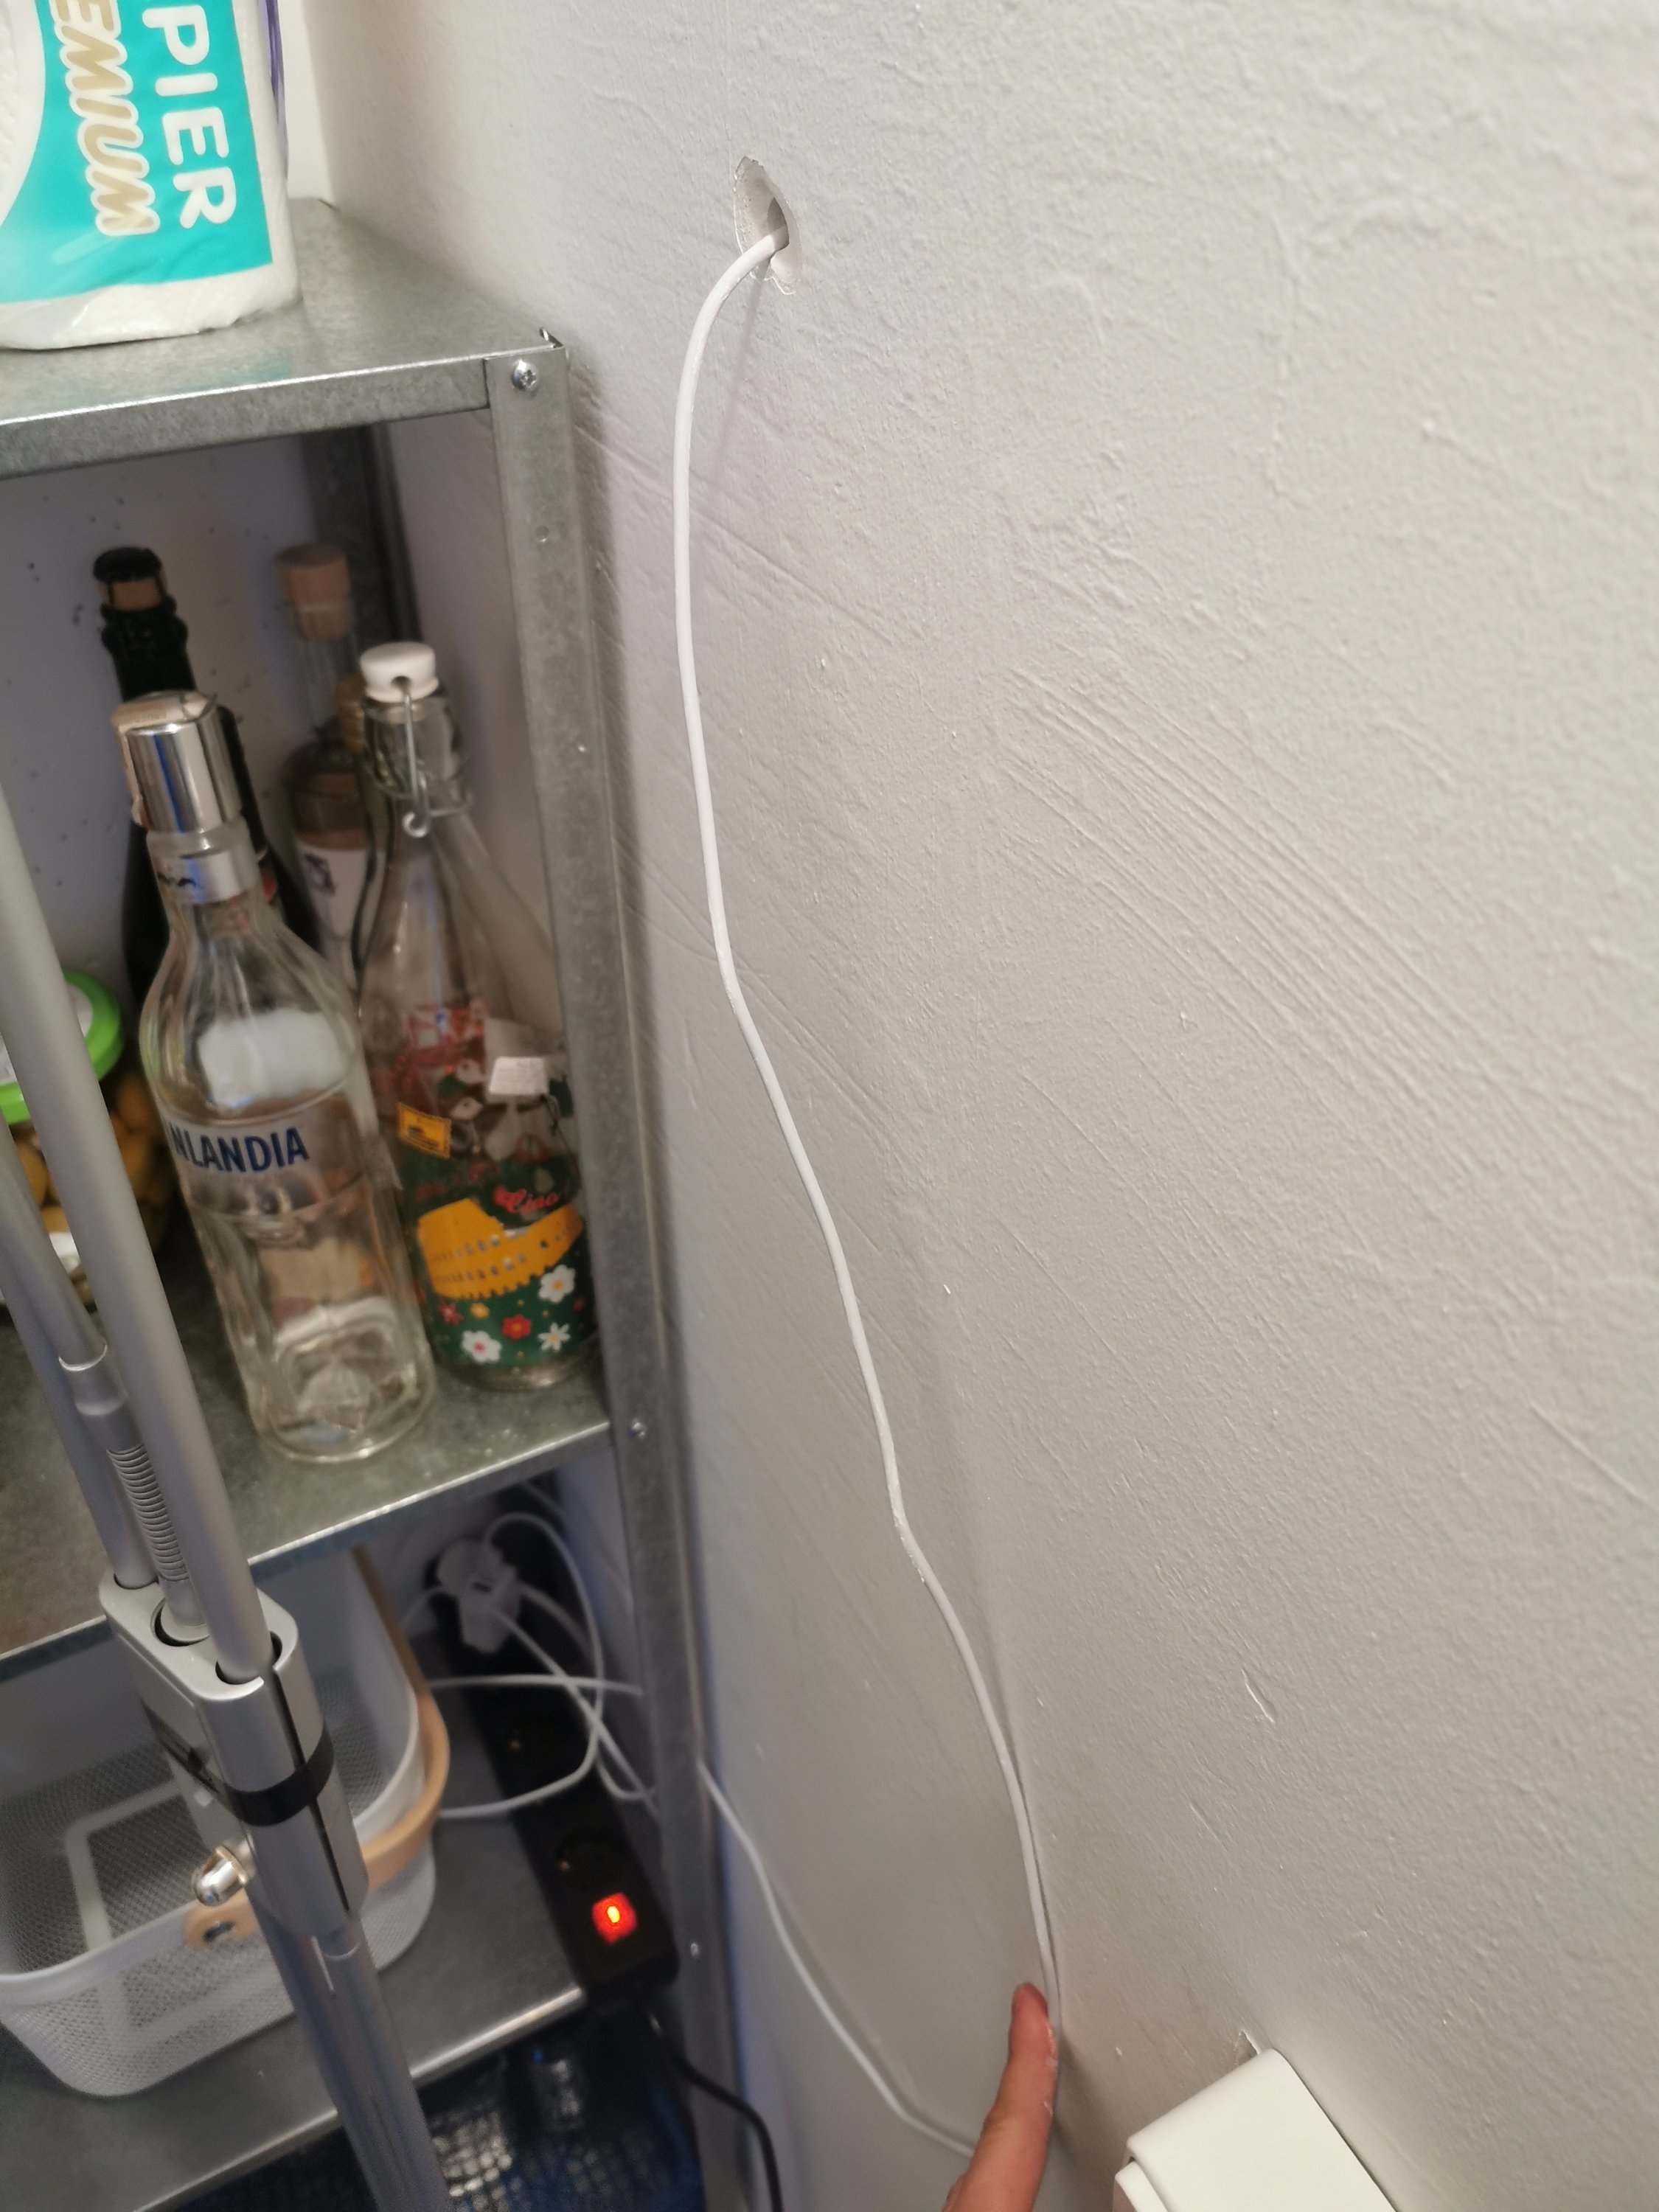
After removing the old thermostat which used only batteries, I had to make sure to have 12v electricity for the new thermostat. It was easy by drill a hole to cupboard under the staircase, where I have some storage and electricity. Nest thermostat is using simple MicroUSB to have the 12v, for what I used an old phone charger. After I mounted the holder and connected the two wires to the device the job is done on the ground floor where the thermostat takes a place.
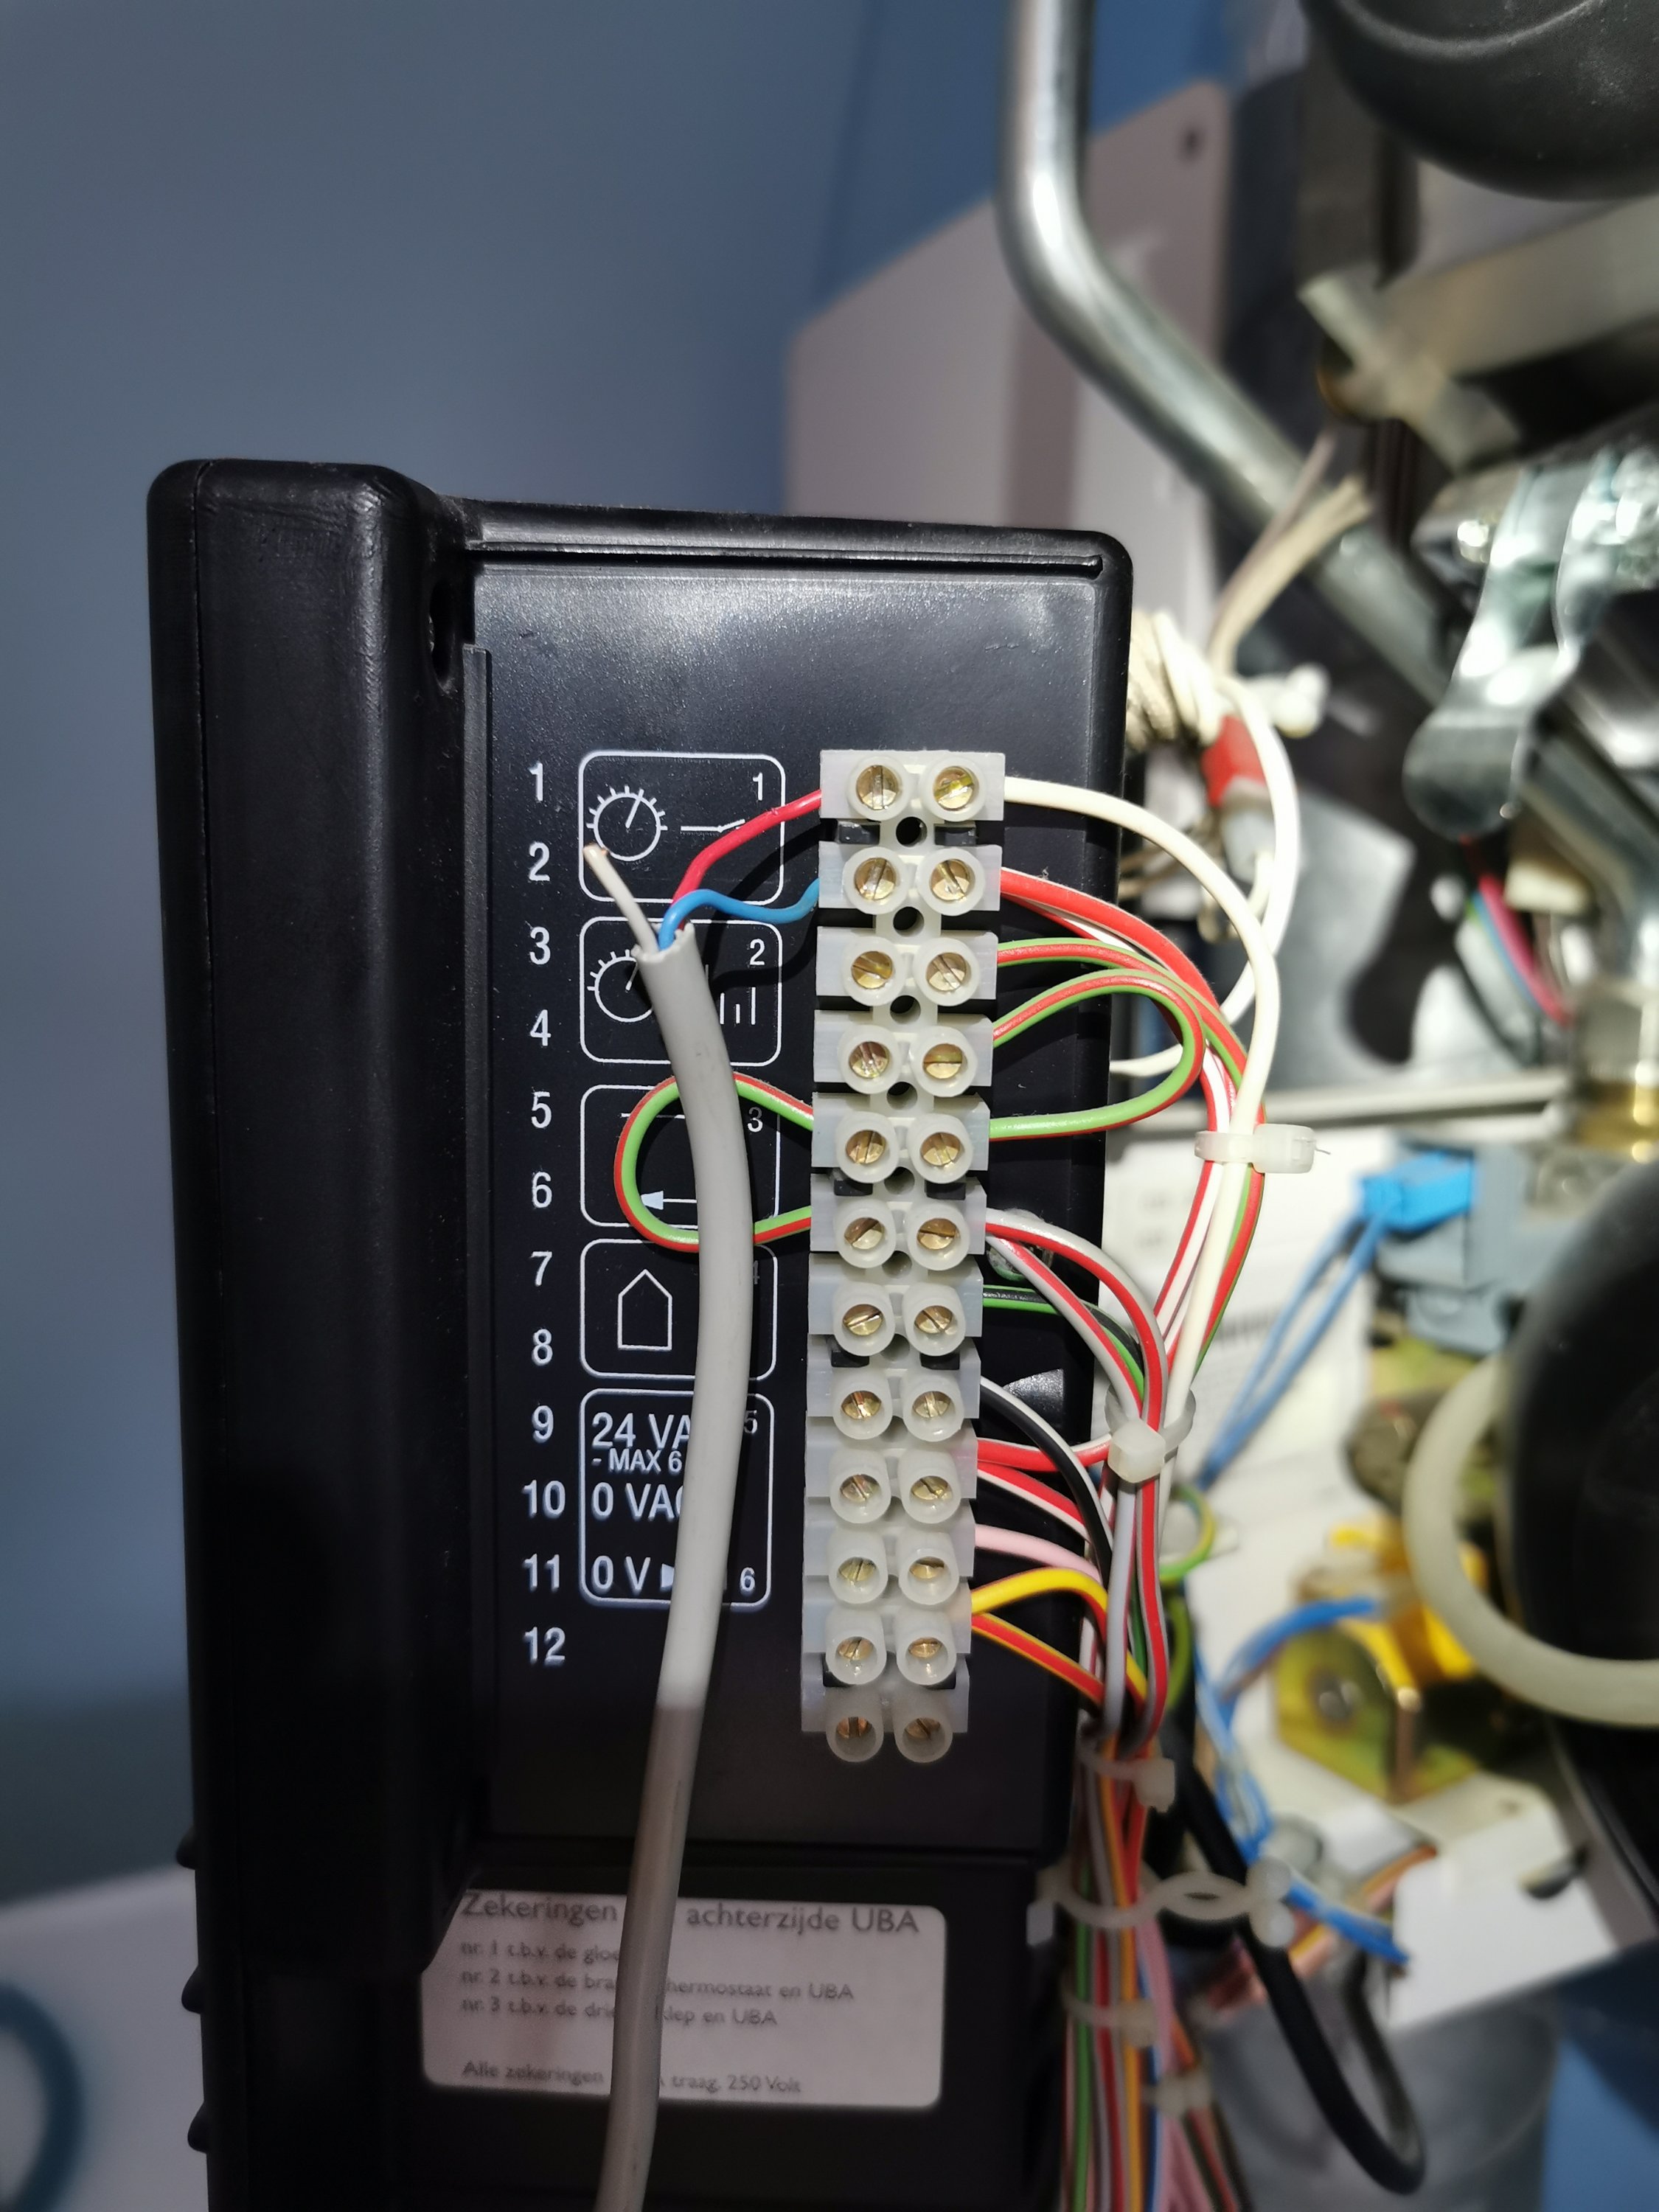

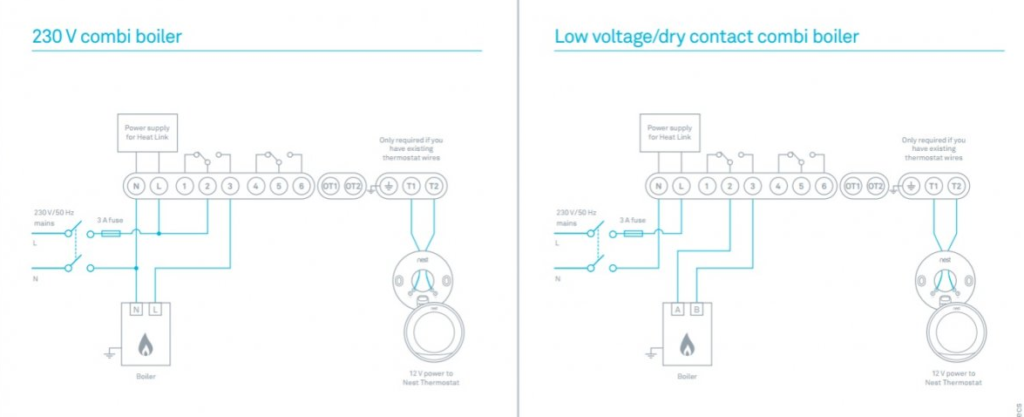
After removing the front cover of the gas heater, I found the place where the two wires from the old thermostat coming in. Because the old thermostat had a diagram that shows 240V input, I was not sure if the device is using a high voltage circuit-breaking mechanism. I was sure that the Heat Link device will take a place on the wire between the Heater and the thermostat, so I cut the wire, crimped it, and with turned on heater I measured the outgoing power to the thermostat what was 24-26V – so by this I determined that I have to use connection diagram for Low voltage/dry contact combi boiler.

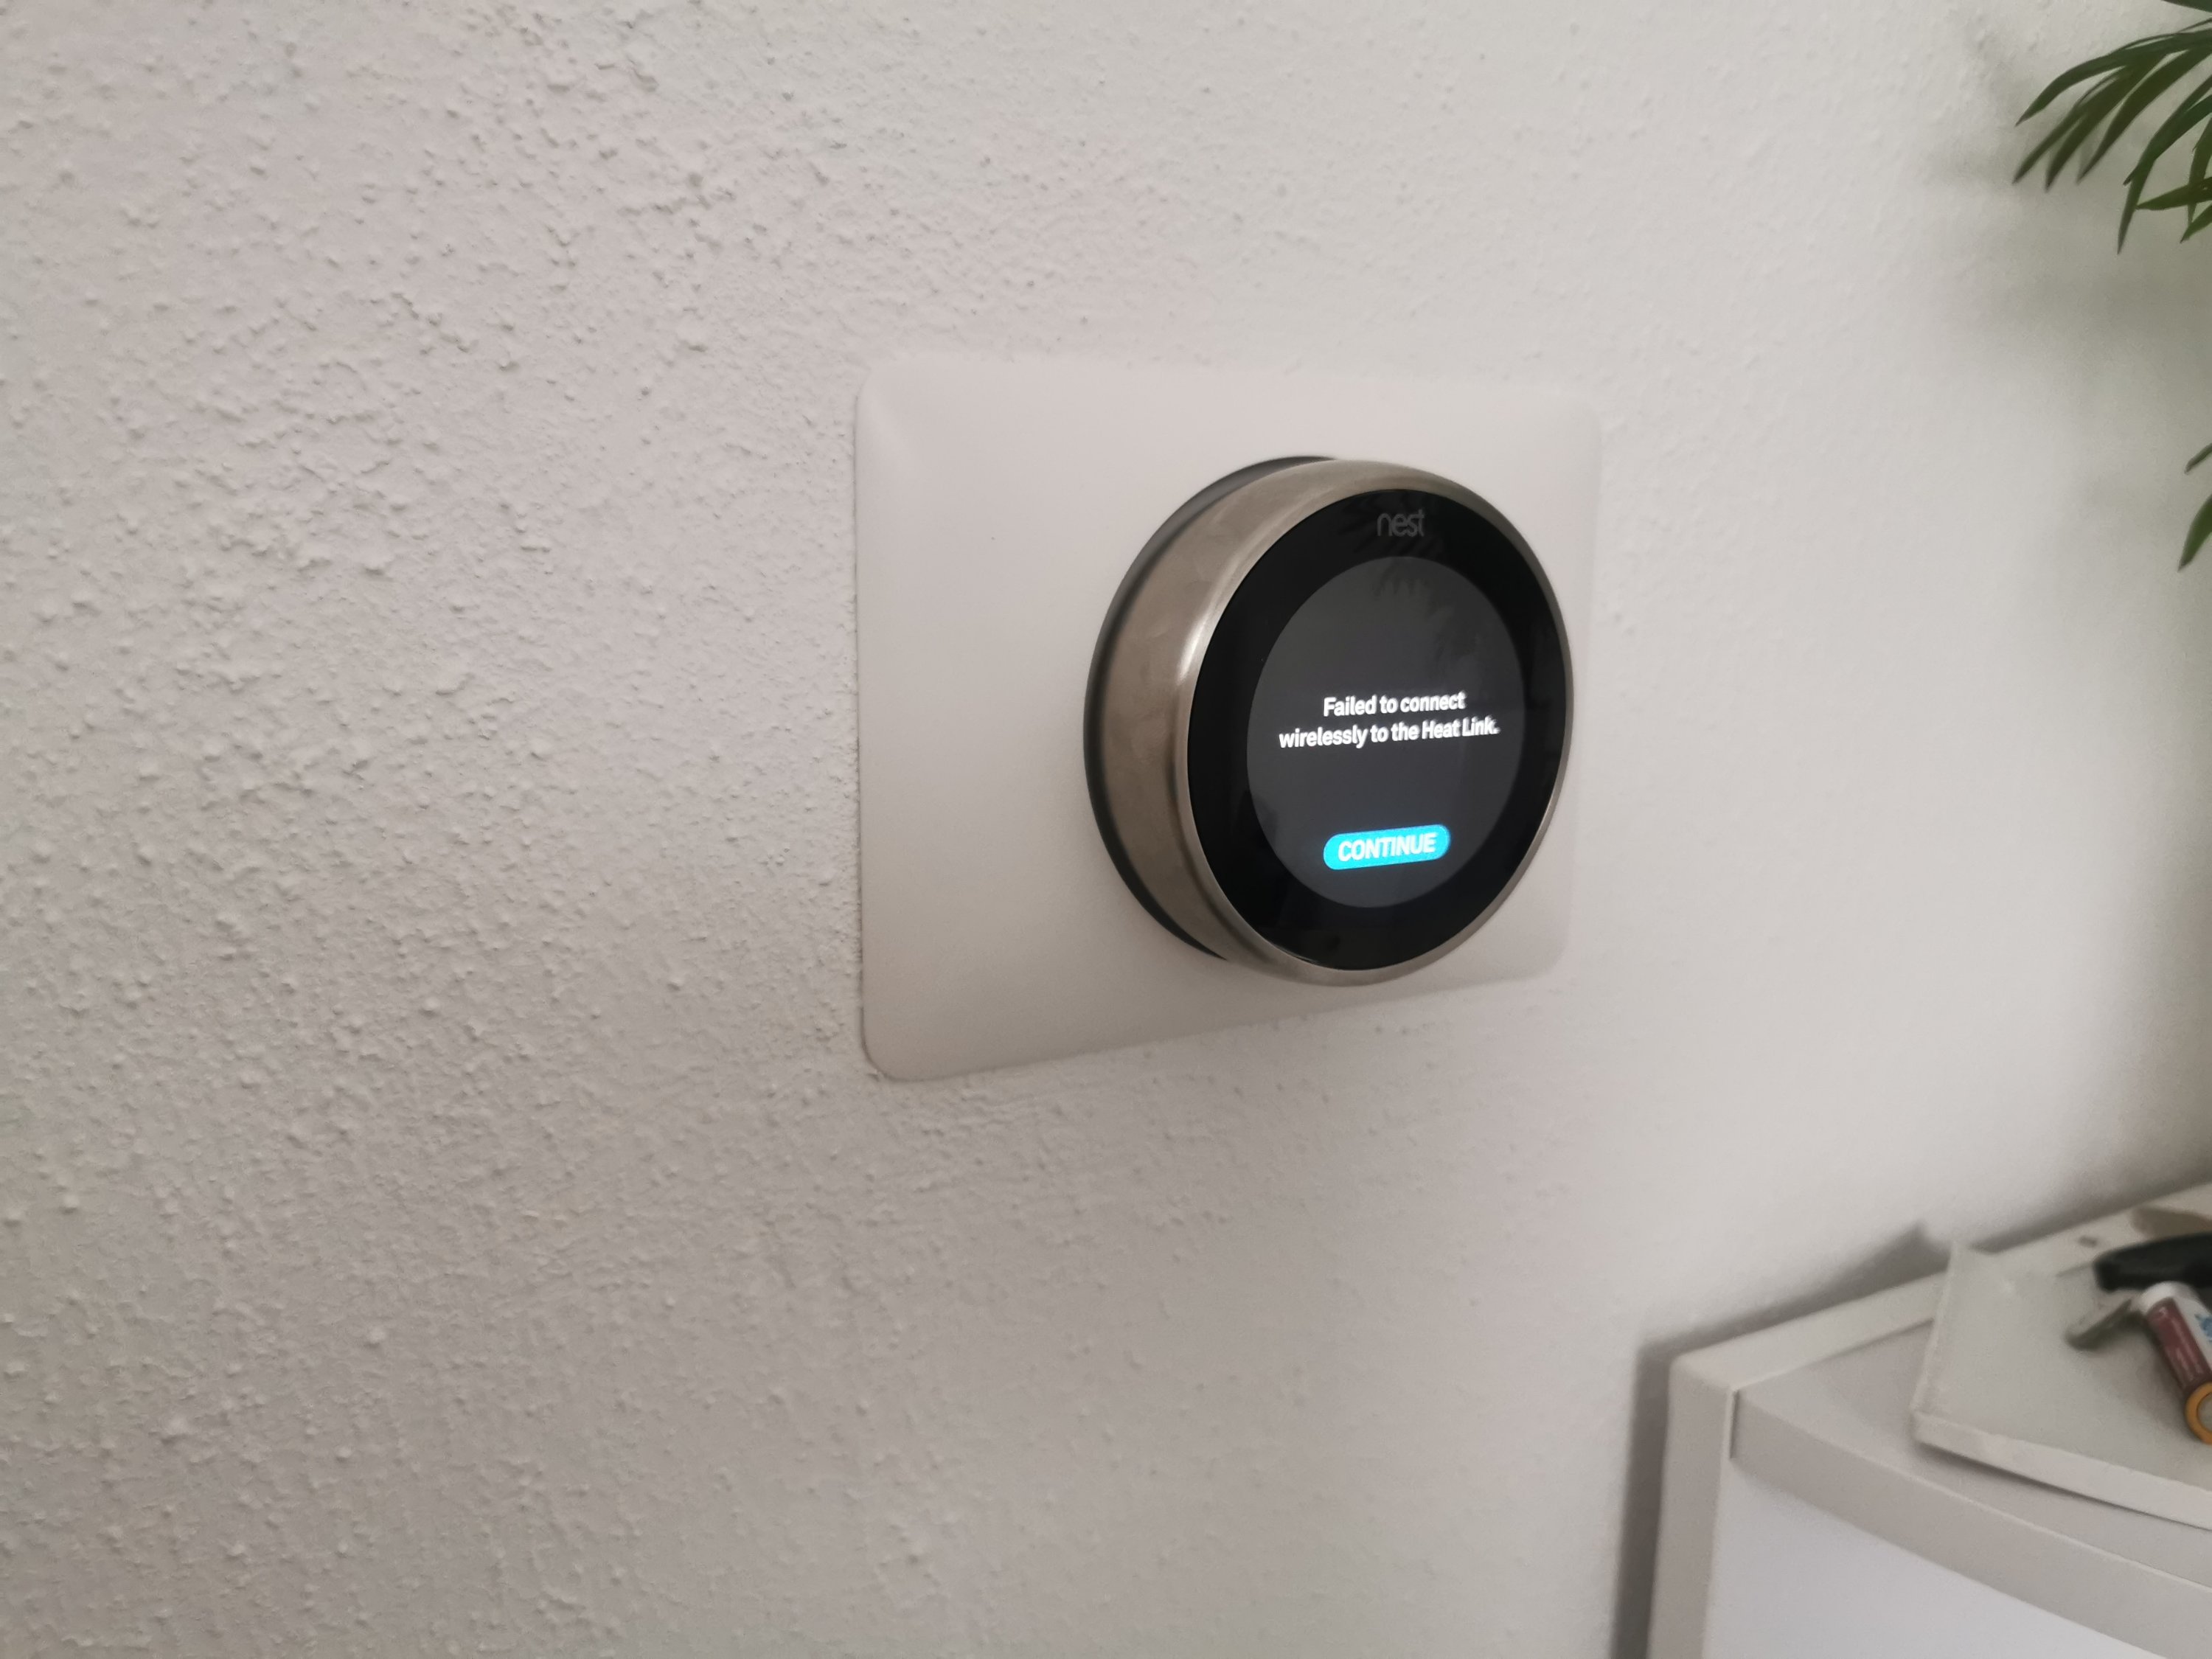
By using the old thermostat wire for 24v and a new one for 240v (what is a power source for the heat link) I connected the device in the same way it showed on the wiring diagram. After finished installation work, the setup of the device and connecting to the google home hub took 5 minutes and the job was done.
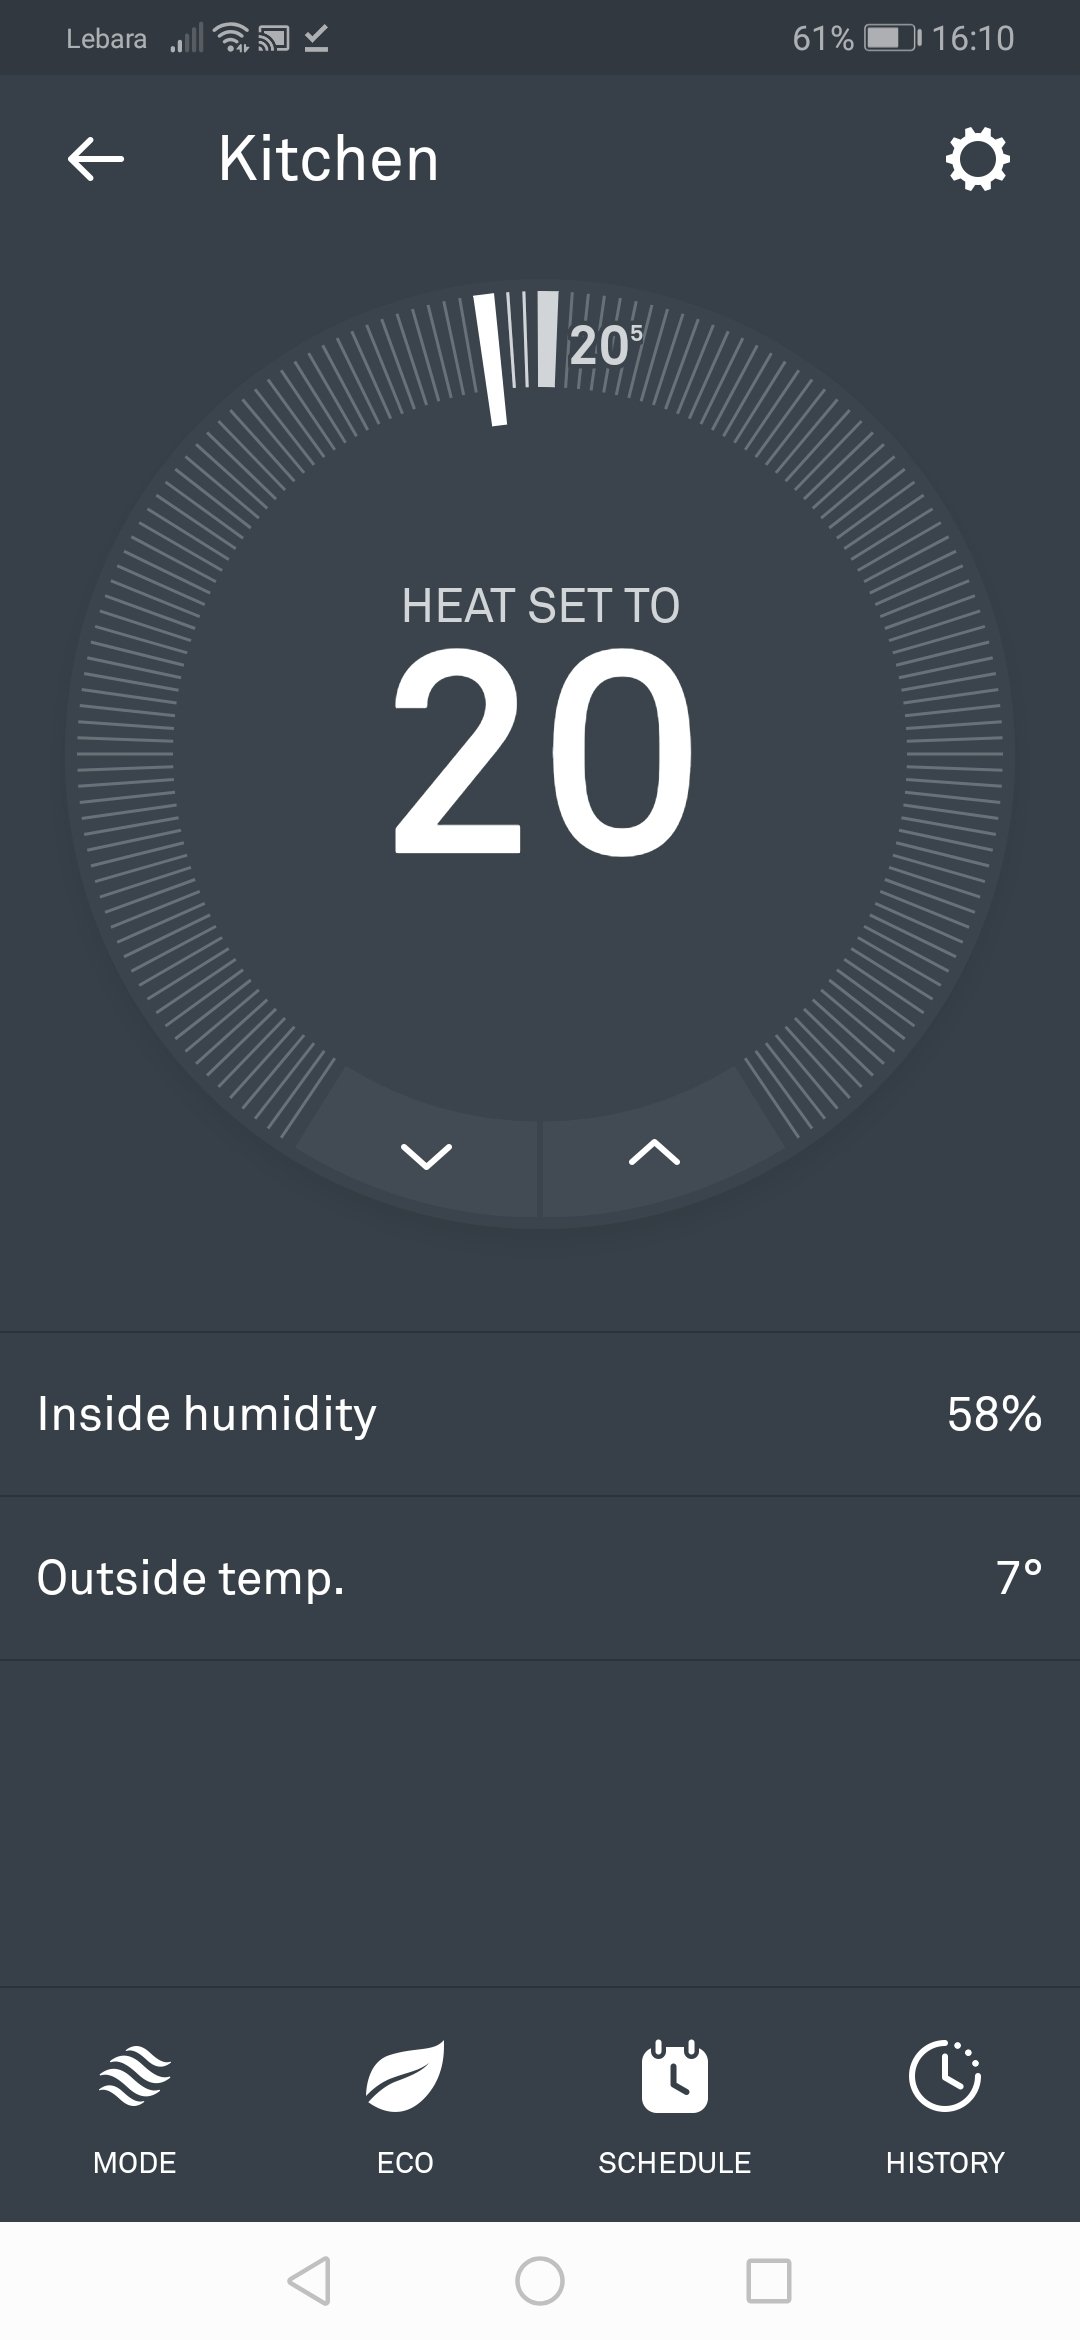
The system is working by voice commands, from connected Android devices and by turning wall mount as well.
Comments