INTRO
I made this project because I was frustrated by having trouble with the IR RGB remote, it was always lost, the battery got empty, and I like to explore communication methods and apply them to electronics. I like to see the manifestation of the code in the real world, so this project was a must. 🙂
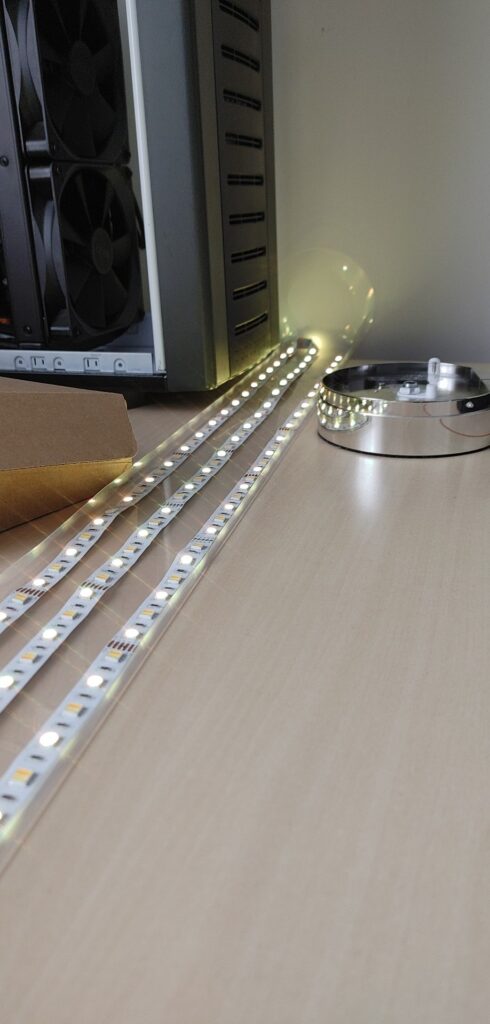
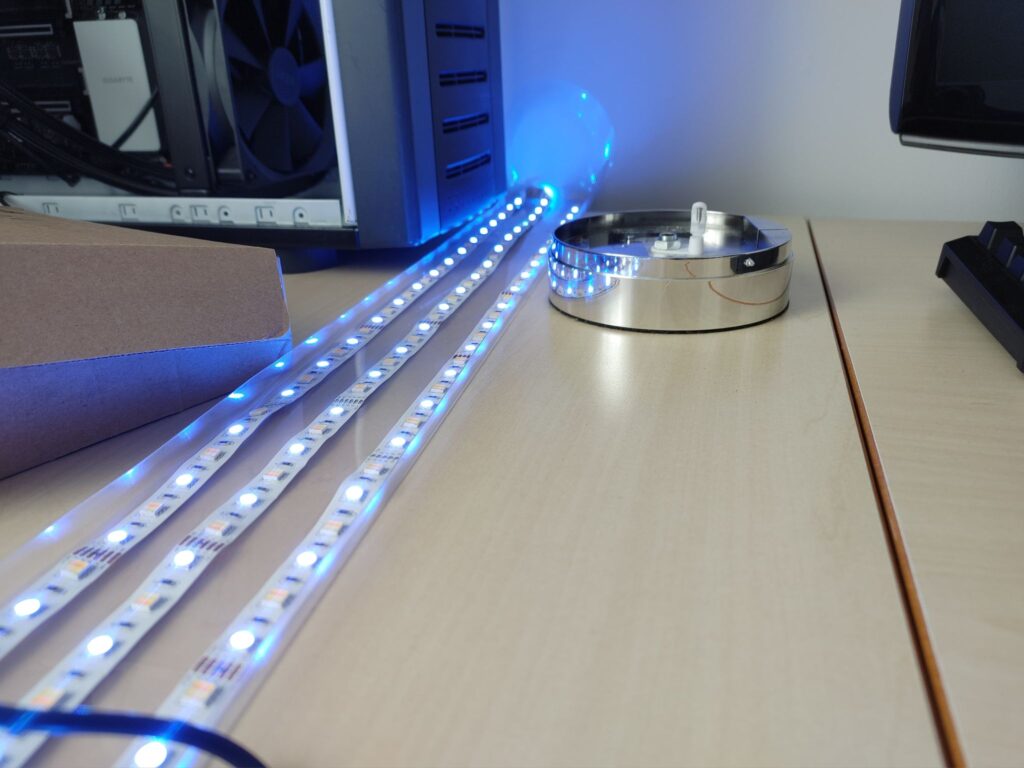
So here is what I started with :
The main idea was to have a desktop application on my screen, which has 3 roller buttons for Red, Green, Blue (RGB) inputs, so I can freely change programmatically the color of the lamp from my computer through the home network. The initial idea was that I will write it in java, and make the GUI in JavaFX, but I have reconsidered it because I may want to access the lamp from my phone, tv, or other devices, so the choice fell on a ‘localhost’ web-based application using my favorite – WebSockets, what I can reach from anywhere. Thankfully on windows 10, there is a possibility to install any site as a regular app, so the shortcut from the desktop is accessible without the browser interface.
The Electrical Part
For having all the possible color options, I needed a mosfet transistor for each of the color cables on the led, so I could choose between 250 options of the color instead of just on and off for each,
searching on the internet I have found out that to but the mosfet transistors alone will cost the same like the complete led stripe driver with the transistors on board, so I lived with this opportunity.
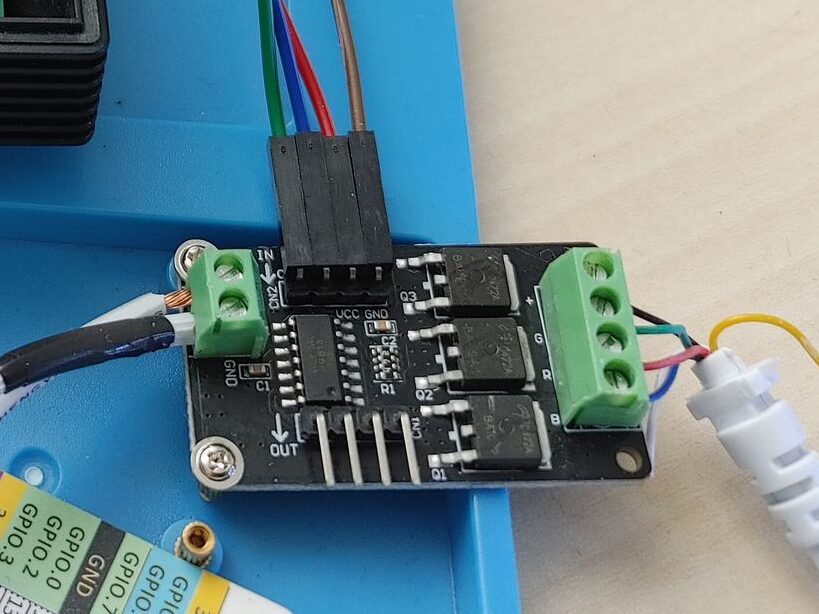
From the left it have an input of 12V.
On the top it have 4 input wires for 1-CIN (CLOCK IN – green) 2-DIN (DATA IN – blue) 3- 5volts IN – red and 4- GROUND – brown
From the right side the led is connected appropriately to the wire colors of the led.
On the raspberry PI:

Programming on raspberry PI – Python
The raspberry PI will have three jobs:
1.Controlling the led driver by sending the color data to it.
2.Running a Websocket server to be able to receive connections from clients
3.Running a web server for the clients with JS websocket client side. – This is not implemented yet, because the client is running on my PC for now
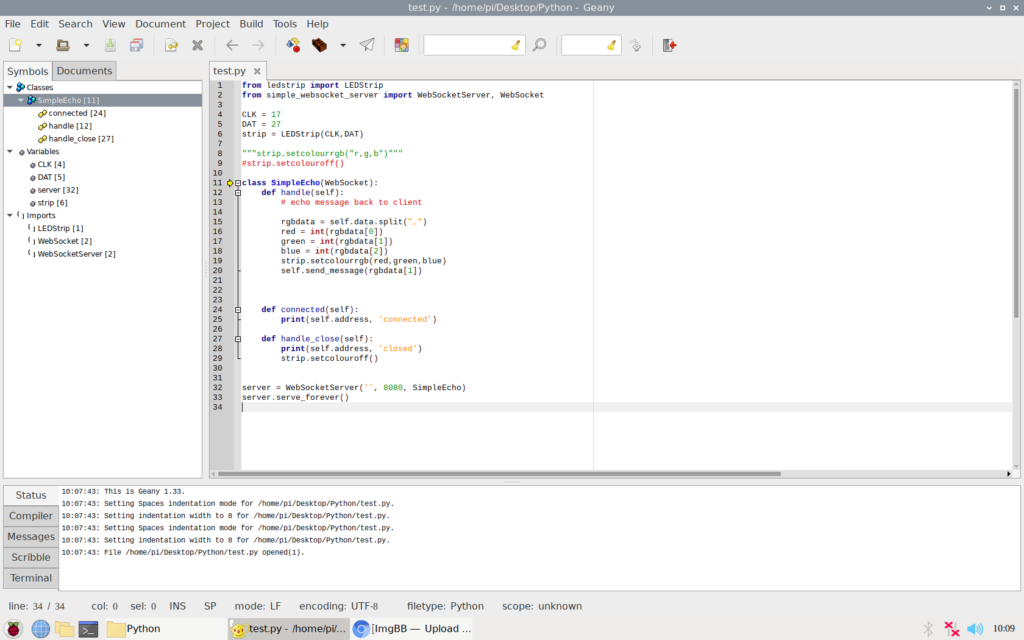
The two main libraries are :
Open-Smart-RGB-LED-Strip-Driver-for-Raspberry-Pi – This is handling the data transfer to the driver itself with simple and easy methods.
for example to send the data to the strip on the defined GPIO – the code is strip.setcolour(numberR,numberG,numberB)
simple-websocket-server – This is the simplest websocket server for any use case.
Programming on the client
The client is my PC now, and here is the website-app:
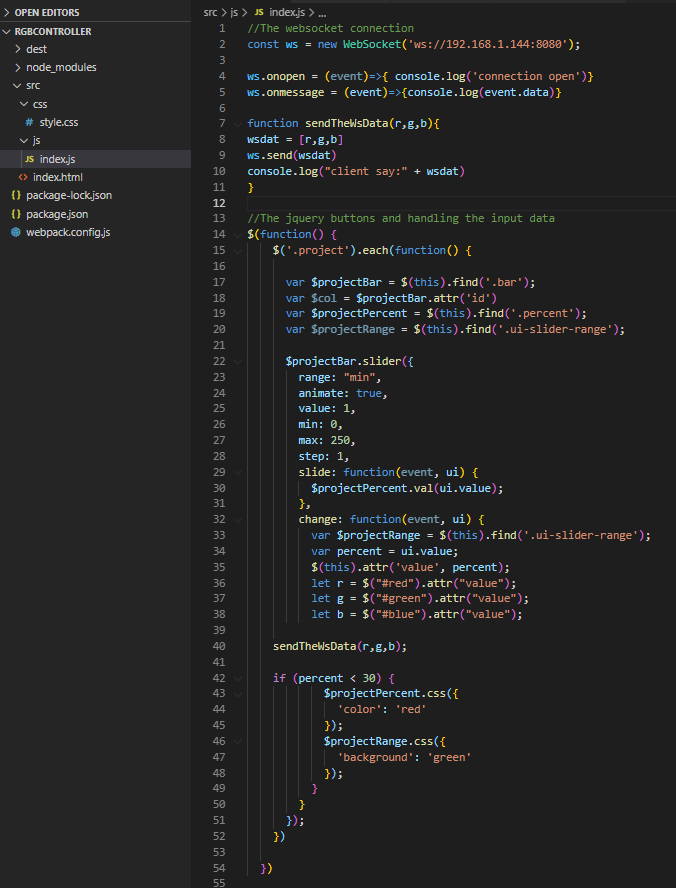
The index.js running the client and controlling the sending of the triggers 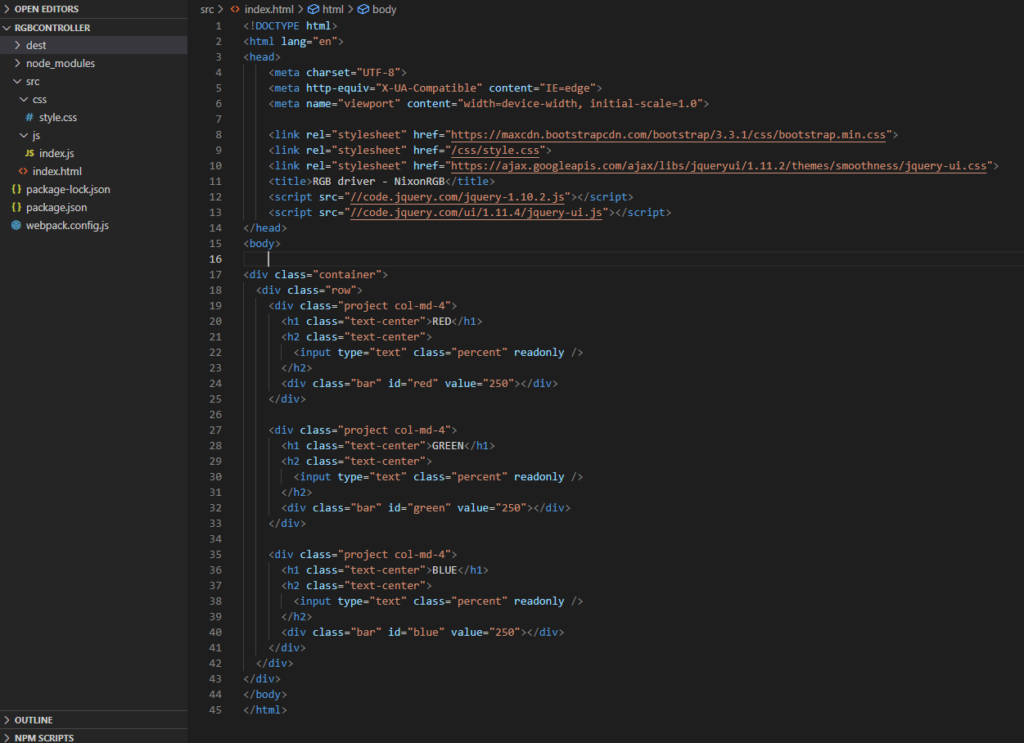
The index.html with the rollers
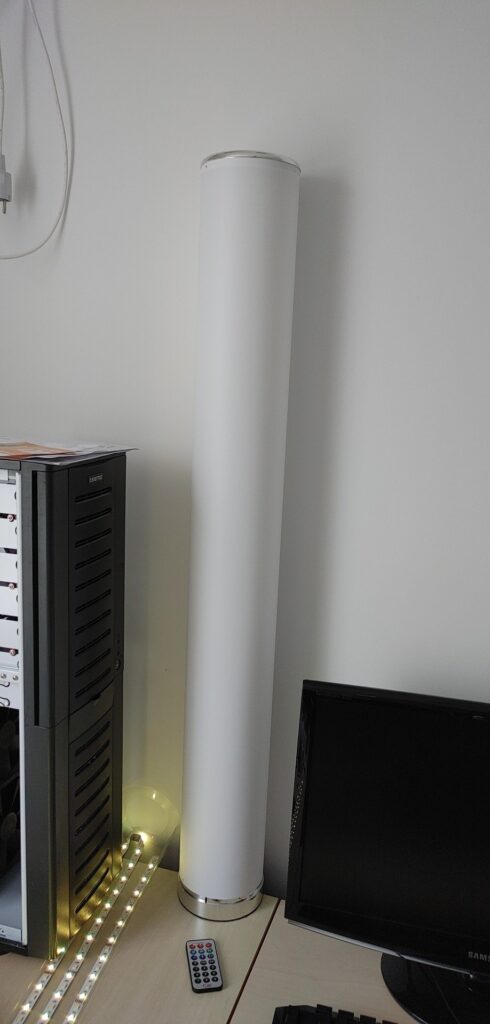
The final result:
To access the client properly, we have to run a localhost web server, which I am doing in many ways, but now for case of simplicity I used the npm inbuilt web server, So I can access the client on locahost:3000. After the site is live, we can save it as app from Microsoft edge like its on the picture below.
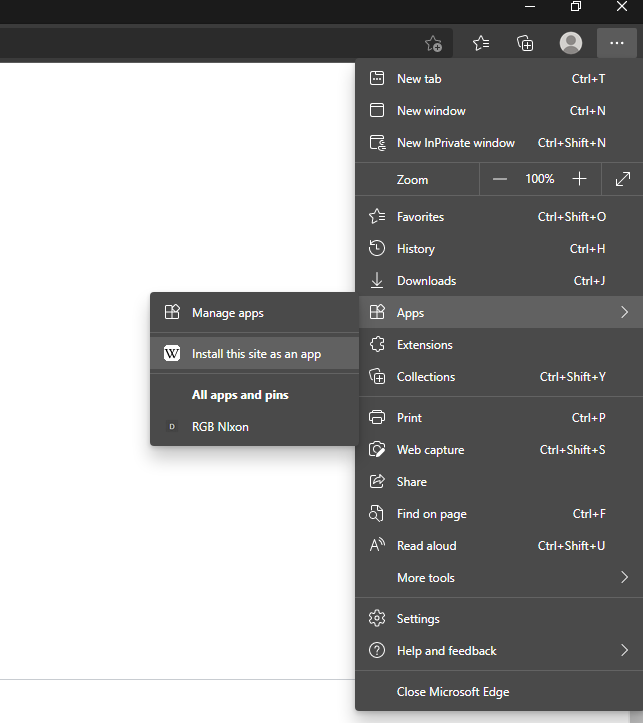
Adding the website as APP 
The application on windows